Saturday, June 2, 2012

Crayons: I'll stop the world and melt with you.

I never cease to be amazed by the awesome projects I find on pinterest. the latest thing I've been fascinated with is art w/ melted crayons. I originally got the idea when I pinned an item titled '35 Uses For Crayons'. once I hopped on to that site I found a project that really appealed to me, it involved melted crayons. apparently this is based on the concept of pointillism which is when dots of color/paint/wax (whatever) are used to create a larger image.


Materials
MATERIALS:
  • canvas-- I used 16x20
  • crayons--I used crayola crayons because I'm a bit of a crayon snob.
    • I peeled the wrappers back.
  • tea light candle
  • bottle caps- I used Snapple lids.
  • beads
I stared at the canvas for awhile before I decided I would use a kind of argyle pattern. i chose where i wanted to begin my pattern (in the corner i think) and starting getting crazy w/ the wax!

STEPS:
wax dots/ step 2
  1. choose your design/pattern; i marked the beginning of my diamond shapes in my argyle pattern by doing a light sketch of the shape with my crayon (crayon is not melted at this point). once you get going the crayons will cover your outline.
  2. To start the process w/ the crayons, dip the end of the crayon into the flame of the tea light. you don't need to hold the crayon over the flame too long because it will drip. With the melted crayon you can either do dots (see picture) or color w/ the crayon.
  3. Once I completed my pattern over the entire canvas it took me awhile to decide what/if i was going to do something else to it. I liked my argyle pattern but i felt like it need something extra, something round to even out all the angles from the diamonds.
  4. I had been collecting bottle cap/tops for awhile for some unknown future project I'm sure i will do, while looking in my bottle cap stash i found some really cool Snapple lids. i don't drink Snapple drinks but i love that the bottle caps have 'real facts' on the lids. not only are you enjoying a cool beverage, you are learning something in the process.
  5. i used hot glue to glue the caps, i ended up using orange beads (i was loving orange in this project) along the outside of the canvas.
DID YOU KNOW that every ton of recycled paper saves about 17 trees? thanks Snapple!!


Here is the finished product. Yes, I realize it looks a little weird but that's okay because I like weird and I made it. :)

Future projects: I had fun making and playing around w/ the crayons and patterns. I think it would be cool to create a mural of sorts w/ the crayons. google 'pointillism' for ideas. this would be cool to do with kids but you'd have to figure out how you would melt the crayons in a safe way with/without a candle. obviously supervision would be required but you're smart so I'm sure you figured that part out.....


Friday, June 1, 2012

Proud as a Peacock


So here I am once again w/ yet another recycled book project, this time around I've made a beautiful peacock. I created this piece to be sort of a sister to the L project I've already completed. They harmoniously reside on the same wall. :)


Just like my other book projects the main materials needed are book pages. Pages with words are what I used as my background. Using illustrations from the books I cut strips about centimeter wide to use as the border on the canvas. I also used the illustrations to create the feathers on the peacock. I'll break it down step by step in a bit.


MATERIALS:
  • Book pages (with writing and illustrations)
  • Scissors
  • Modge-podge decoupage glue (matte or glossy, your preference)
  • Brush for decoupage glue
  • Sharpie (I used a Sharpie to outline the edges of my feathers to give them more definition)
  • Solid color cardstock (for the peacock body)
  • Small rhinestones (optional)
  • Hot glue gun + glue sticks
STEPS:


1. Use modge podge to glue the book pages for the background.
2. cut centimeter strips of book illustrations for the border, used modge podge to adhere them to the canvas.
3. I cut out illustrations from books for the feathers. I used cardstock to make a pattern for the shape I wanted. Once I had all my shapes cut I used a sharpie to outline them to give them some definition against my background.
4. I created the peacock base (the blue part in the picture) using a dark blue piece of cardstock. instead of using modge podge at this step I used a little hot glue to put this on the canvas.
5. back to the modge podge--- carefully place the feathers on the body of the peacock and glue as you go.
6. Once I had all my paper pieces glued on-- the peacock body, feathers and head feathers--I did a final coating of modge podge on the whole canvas.
7. I'm a gal who loves sparkles so to add some sparkle to my piece i glued a few (maybe 5) rhinestones to the feathers.


VOILA! a lovely peacock I am proud of!

Leslie


Wednesday, April 11, 2012

Library Letters

My latest project involves using pages from children's books to create 4 panels that spell out READ for my school librarian. She's the one I got all the books from so I thought I'd make her something to show my appreciation. I'm really proud of the final product, I think they turned out beautiful!

Supplies:
  • modge podge decoupage glue (glossy or matte, doesn't matter)
  • brush (for decoupage glue)
  • cut up book pages
  • cardstock
  • hot glue gun
  • scissors/exacto-knife type blade
  • 8 x 10 canvas panels

Steps:
  1. Using the modge-podge glue randomly place the book pages on your canvas. While I try to be random about the placement, I still like to make sure that my colors are evenly spread out across the canvas. **For this project I used the book illustrations as my background instead of the words like I have used in my previous projects.
  2. Once the glue has completely dried I cut off any overhanging/excess paper from the canvas using my scissors and my exacto knife.
  3. To create the letters for the panels I drew the letters on regular cardstock paper. Once I had the size I wanted I glued the written book pages onto my cardstock base.
  4. After the glue dried, I trimmed off the excess paper from my cardstock letter. *to add an extra pop of color to your finished produced you can reglue your letter to a colorful piece of cardstock like I did w/ orange paper.
  5. I used hot glue to adhere the letters to the canvas .
  6. As a final touch for my project I put a final coat of the modge podge on top of each panel.
A close-up of one of the letters.

Harry Potter and the creature from the Black Lagoon are keeping my letters company.


VARIATIONS: I think this would be an awesome project for a kids room, spelling out their name would look so cool!!!

Wednesday, March 28, 2012

Musical Chair(s)

Last summer my brother salvaged an old-school desk from a garage sale (could have been from the curb, I don't remember). He wanted to use it in his classroom but didn't exactly know how he could improve the appearance of the old, beat-up desk. Being my crafty schmafty self, Chris sought my advice. My answer: DECOUPAGE!!! Chris is an elementary school music teacher so he wanted to somehow incorporate music into the project, we decided to use sheet music and cd covers/jackets to accomplish the task. We found some really classic cd covers too! LFO, Backstreet Boys, Boyz II Men, Michael Jackson and Eric Clapton helped beautify the old desk. Oh, don't let me forget that we used stuff from his band The Rebounds. Prior to the decoupaging Chris cleaned the desk and took off the parts we decoupaged: the seat, seat-back and the top of the desk. He ended up spray-painting the metal part of the desk a bright, cheery red.

What you need:
  • desk
  • decoupage glue
  • paintbrush for glue
  • sheet music
  • cd covers
VARIATIONS:
I think this would make an adorable project for a kid's room. You could use that child's artwork, photos or cute scrapbook paper to decorate the desk.
Back of the seat


The seat


 The top of the desk (duh!). I added Scrabble letters to give the desk a little extra pizazz!

The finished product!!


Happy Crafting!

-Les

Thursday, March 22, 2012

Miscellaneous Material Bookmark

I just can't seem to stop creating things from my collection of almost-thrown-out children's books! I've done an L and I've done earrings, now I'm venturing into bookmark territory because you can never have enough bookmarks! I was looking at my 'lil craft corner in the basement and decided I needed to use up some of my scrapbook paper (which somehow seems to multiply). I found a poem I liked from one of my salvaged library books (the book was called Read Me A Poem) and cut it out. Then I realized that I had one of my bottlecaps leftover and decided to throw that in the mix as well, it's like a smorgasbord of crafting...

Materials Needed:
  • scrapbook paper
  • poem/book page
    • I also think a picture would work really well here and it'd be super cute! a child's artwork or writing of their own would work as well
  • clear contact paper
  • scissors & glue (duh!)
**optional for bottlecap topper:
  • bottlecap
  • book page/picture to go on inside
  • modge podge dimensional magic glue
  • hot glue gun
The Process:
  1. Cut your scrapbook paper to the size you want
  2. Glue picture/poem to your bookmark
  3. Using the same scrapbook paper that I used for my bookmark I created a tab for the bottlecap. I cut a small rectangle, folded it in half and glued it to the bookmark.
  4. Apply the contact paper to create a protective seal for your bookmark.
  5. ** Glue the bottlecap onto the bookmark using the tab you just created. Click HERE for a link to my previous post about how to make the bottlecap portion. If you choose not to add the bottlecap, you can simply skip this step and be done!

Like I said before, I think this project would also work well with a small picture or perhaps some hand-drawn artwork. I think it'd be adorable for a Mother's/Father's Day gift if a child were to create some sort of artwork to turn into a bookmark for one (or both!) of their parents. At my school the 3rd graders wrote winter-ish poems, typed them up and created bookmarks for their parents for Christmas/Hanukkah presents. They turned out so cute!


The finished product!
The book page I used inside the bottlecap doesn't necessarily match the scrapbook paper, but I still like it.


Looks adorbs sticking out of a book.


Seriously, how cute is this?


Have fun!

-Les


Tuesday, March 20, 2012

Gift for a Sentimental Mom

Thist post is about the gift my siblings, sister in law (the lovely Claire), niece (4 months at the time), nephew (5 yrs old) and I (I did all the hard work) made for my mom for Valentine's Day. My mom had been pretty stressed out so I knew that a cheesy yet sentimental gift like this would be perfect for her and would really make her feel special and loved. I originally found the idea on pinterest, i'm pretty sure the pin I found had made it as a Father's Day gift but I figured it could really work for just about any gift-giving holiday.

 
Supplies:
  • canvas
    • the canvas I used was 16x20
  • paint
    • for mine i used acrylics mixed with water
  • thin point Sharpie (used to write quote)
Steps:
  1. ** paint a straight line across the bottom of the canvas, don't go across the whole canvas. I used this as a basis for my tree. **optional. you probably don't need to do this part but I think it serves as a nice base for the painting
  2. paint your tree onto the canvas
  3. now its time to do your handprints. if you are doing several like I did, do a few handprints , let them dry and then do more.
  4. ** To make my gift more sentimental I added a quote I found on a quotations website. Any quotes related to family, love, grandmas/grandpas, mothers/fathers would do. The quote I used was:
"Love is like a tree, it grows of its own accord, it puts down deep roots into our whole being."
           Victor Hugo, Notre-Dame de Paris

My mom absolutely loves this gift! My nephew loves to point out who's handprint is in what color and how much fun we had making it together. It makes her happy and that's all that matters.

Leslie 


Monday, March 12, 2012

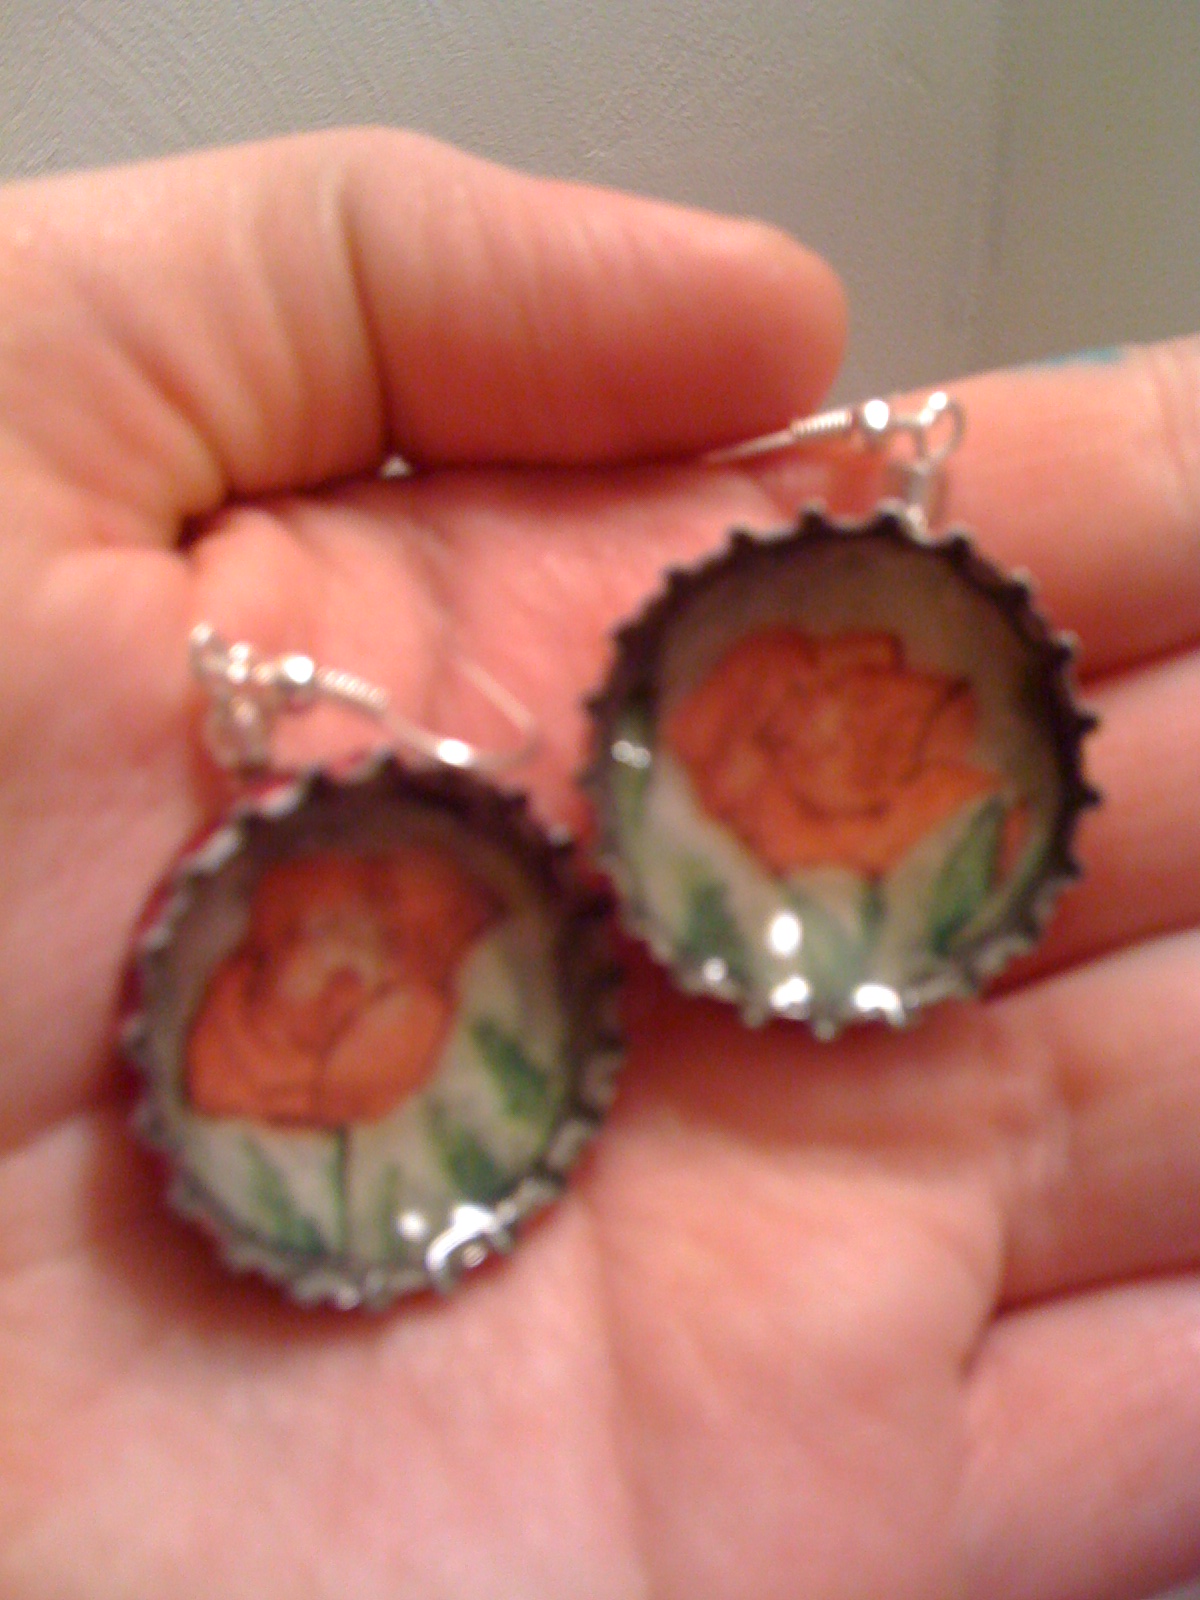
Bottlecap Book Page Earrings


Here we go again, yet another project made from recycled library books! This time around I used my book pages to create earrings. I'll admit this is not an original idea, I saw it at a craft show this weekend and wanted to give it a go myself.

What you need:
- bottlecap
- book pages
- decoupage glue
- hot glue gun
- earring bases
- dimensional magic glue

The Steps:

1. Trace around the bottlecap to measure the size of the book page you will need.

2. Glue the circle piece inside the bottlecap.

3. **optional: I used book pages w/ writing on them for the back of my earrings so you couldn't see the smirnoff logo

back of the earring

4. use a small amount of decoupage for a smooth finish on the back of the cap

5. once the decoupage glue dries flip the cap over and use the modge-podge dimensional magic inside. make sure there are no air bubbles. let the glue dry for atleast 24 hrs (it takes awhile and I always want to make sure it is plenty dry).

6. using hot glue, attach the earring piece to the back of the earring.

dangly but not heavy


the finished project!!


HAPPY CRAFTING!
-Leslie